


This blog contains affiliate links. When you make a purchase from one of my links (which I hope you do), I receive a small commission, which helps me keep doing this work. To learn more about my use of affiliate links, please click here.
I’m going to let you in on a little secret - your commute doesn’t have to be a drag! It’s true - you can actually enjoy the time you spend going to and from work, school, or wherever! The secret - go by bicycle!

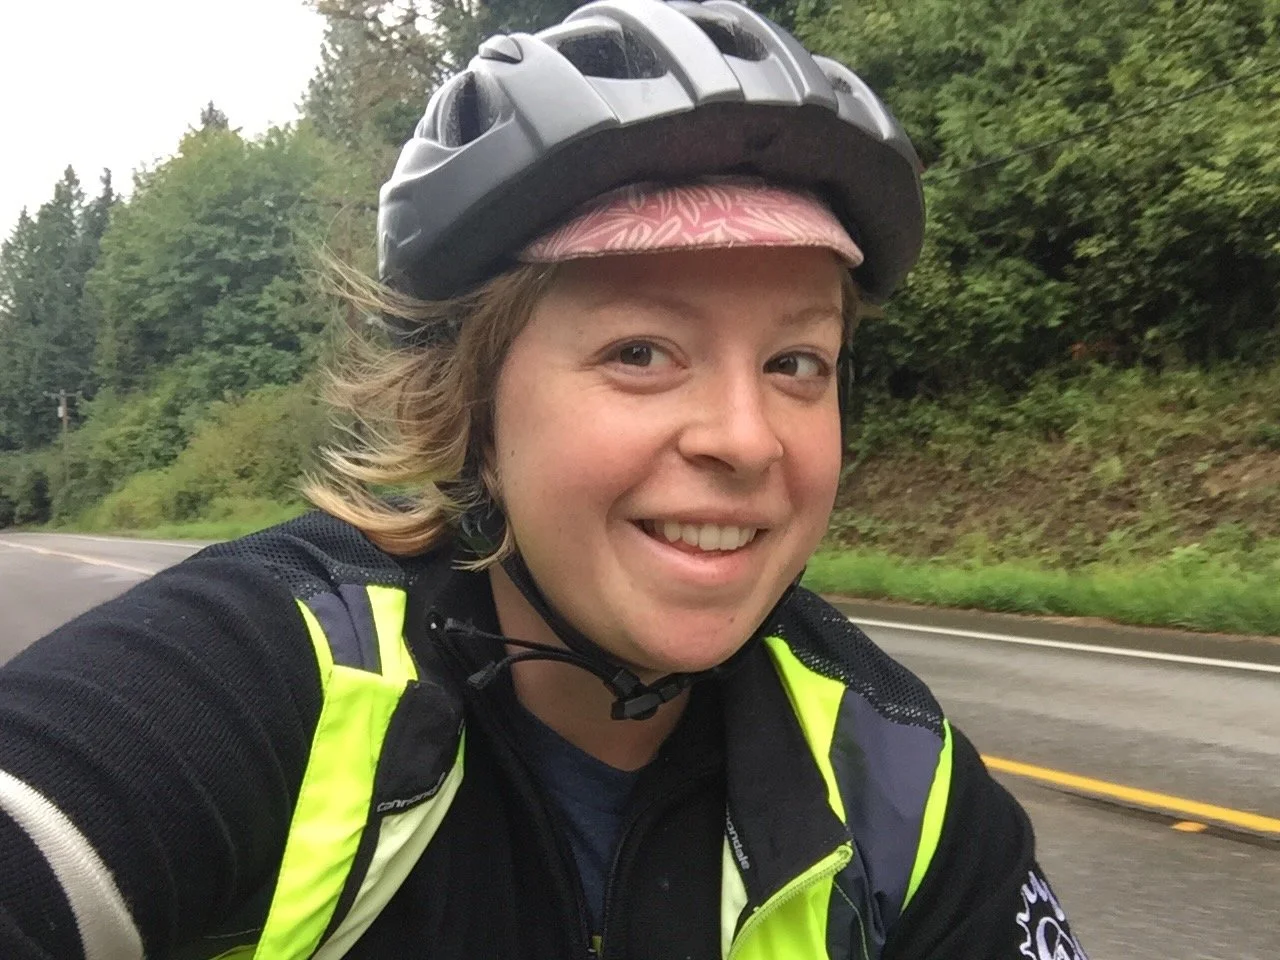
Marley in 2015
A blast from the past from Marley’s early days of commuting by bike.
I’m hoping by sharing my experience as a reluctant and admittedly often very lazy bike commuter, I can convince some of you to give it a try. And no, you don’t need to be in shape, wear anything special, or ride a fancy bike! Everyone can bike commute - even you!
“Middle-aged workers, in particular, especially benefitted from active commuting. Walkers and bike commuters between the ages of 35 and 54 had better self-reported work performance in the study than their peers who were stuck behind the wheel or took public transportation.”
I started bike commuting a few years ago when I realized it was taking me 45 minutes to ride the bus 3 miles downhill (told you I was lazy.) I realized that I could get to work quicker on a bike, have fun in the process, and get my blood flowing - all definite wins in my book.

lock your bike
No matter how secure your building’s parking is, a strong lock is essential. At my work, people clearly left them there. Don’t do this. It’s obnoxious.
After lots of trial and error, here’s my best advice for a successful bike commute.
Prep the night before.
Lay out your riding clothes, lights, shoes, gloves and jacket. Prepare your breakfast, pack your lunch and work bag, charge your lights. Whatever you need to do in the morning, do as much of it the night before as possible that way when your alarm goes off, all you need to do is get dressed, eat and hop on your bike! Trust me, it’s a lot harder to find your helmet at 6am than you might think.
Stash work shoes, toiletries, and a towel at work (if you can.)
If you’re lucky enough to have a locker room or spot to change clothes at work, I highly recommend leaving as many of your toiletries (or getting a duplicate set) there as possible. No need to carry deodorant, a hair dryer and a towel back and forth every day! At my last company, we had a communal hair dryer and straightening iron for everyone to use, which was a total life saver.
I also kept a stash of socks, underwear, a cardigan and shoes at work, because I would inevitably forget at least one of these crucial items most days. These lived in a desk drawer and saved my butt more than once.
Gear up properly.
Not to be “that” person who says you need all the fancy gear, but there definitely is some gear you’re going to want for a comfortable commute- especially if you live in a place where it rains or is dark during your ride.
The Bike: Any bike will work - honestly. For the most comfortable experience, I’d go towards a hybrid/all-road bicycle as they’re pretty dang durable. Something that can withstand potholes, rain, and lots of miles.
If you’re lucky enough to live in a city with a bike share, that’s a great way to test out the waters of bike commuting! More on that in a future post.
Electric bikes are another excellent option if they’re in your budget! Ranging from $999 for the RadMission to over $10,000 - the sky is the limit on how much you could spend on an e-bike (but you don’t have to!) Definitely a future post all about why I love e-bikes so much too!
Rack & Panniers to carry your gear: Yes, you can use a backpack, but I like having my bike carry my stuff. My go-to is the Ortlieb Classic Backroll Panniers - they’re waterproof, durable and big enough to carry lots of stuff. If you want something a bit cuter, Po Campo makes great bags that transition seamlesslesly from the bike to the office.
As for racks, it’s hard to make a specific recommendation as you have to make sure it fits your bike. Chat with your local trusted bike shop and give them your business. If you don’t have anywhere to bolt on a rack, this rack that attaches to your seat post and seat stays is a cool option though. Do NOT use this if you have a carbon frame!!
Lights: Let’s face it, winter is coming. For those of us in the northern hemisphere, it’s likely we will be commuting in the dark. Being able to see (and being seen) is crucial for a safe commute. Pick a light that’s in your budget - honestly I’ve tried a bunch and they’re all pretty good. I highly recommend rechargeable lights - take them into your office during the day and charge them and you’ll never be out of juice!
Fenders: Don’t be that person who sprays everyone behind you with gross water. Put fenders on your bike and keep yourself and those behind you dry. Bonus - it’ll keep your bike cleaner. (Make sure you get the proper size fenders for your tires!)
Lock: No matter where you’re parking your bike (unless it’s literally at your desk), you need a strong lock. I recommend a U-lock that can secure your front wheel, especially if you have quick-release style wheels.
Do a Test Ride before you need to be at work on time!
If you’re not already riding bikes on the regular, you might not have any concept of how long it’ll take you to get to work on your bike. This is ok!
Do a test ride on the weekend to gauge how long the ride will take and how your body feels doing it. Make it super realistic by loading up your bags, putting them on your bike and riding with them! Nobody wants to be surprised by an extra complication when they’re in a rush. Also, keep in mind that traffic patterns might vary from the weekend to a weekday.
Be realistic about the mileage - consider making your commute multimodal.
I realistically won’t ride more than 5-10 miles for a bike commute. And I ride a lot of miles when I want to. Be honest with yourself about how far you are willing to ride and use transit to help reduce the distance if you need. Most cities allow bikes to be loaded onto buses and trains.
One idea - take transit to work and ride your bike home when there might be less of a time crunch.
Find a mentor or buddy to ride with.
Ask around at work, in your local neighborhood Facebook group, or among your friends group. Perhaps there is an experienced rider who is traveling the same direction as you? Most cyclists are pretty friendly and excited to have more folks joining us on the road, so I’d encourage you to ask if they’d let you join on their commute. Having a seasoned rider lead you can help you gain confidence, learn tricks (or route tips) you might not otherwise know and provide extra visibility.

Bikes on the train
Don’t worry, this was pre-COVID.
Best of luck out there and more to come on this topic, including How to Bike Commute with a Laptop, How to Bike Commute and Not Get Sweaty, and How to Bike Commute in Dress Clothes!

